‘Noli me tangere’
In July, we welcomed a new Phoebus Fellow into our conservation studio: the French-Dutch painting restorer Annika Roy. For the next three months, Annika is taking care of Hendrick De Clerck’s Noli me tangere.

“This painting, dated between 1560 and 1630, depicts a famous passage from the New Testament, Noli me tangere (“Do not touch me”). It reads a little bit like a graphic novel. The first scene on the foreground shows Maria Magdalena, encountering Christ, after his resurrection. Mistaking him first for a gardener because of the shovel he is holding, she recognizes him, and Christ speaks the famous words ‘Noli me tangere’. You will also notice a second scene in this painting. On the right side, you can recognize the three holy women at Christ’s tomb and Maria Magdalena among them. They find the tomb empty, and an angel announces Christ’s resurrection. Your gaze is then guided to the Golgotha hill in the centre of the painting and in the background, you can see the city of Jerusalem.”
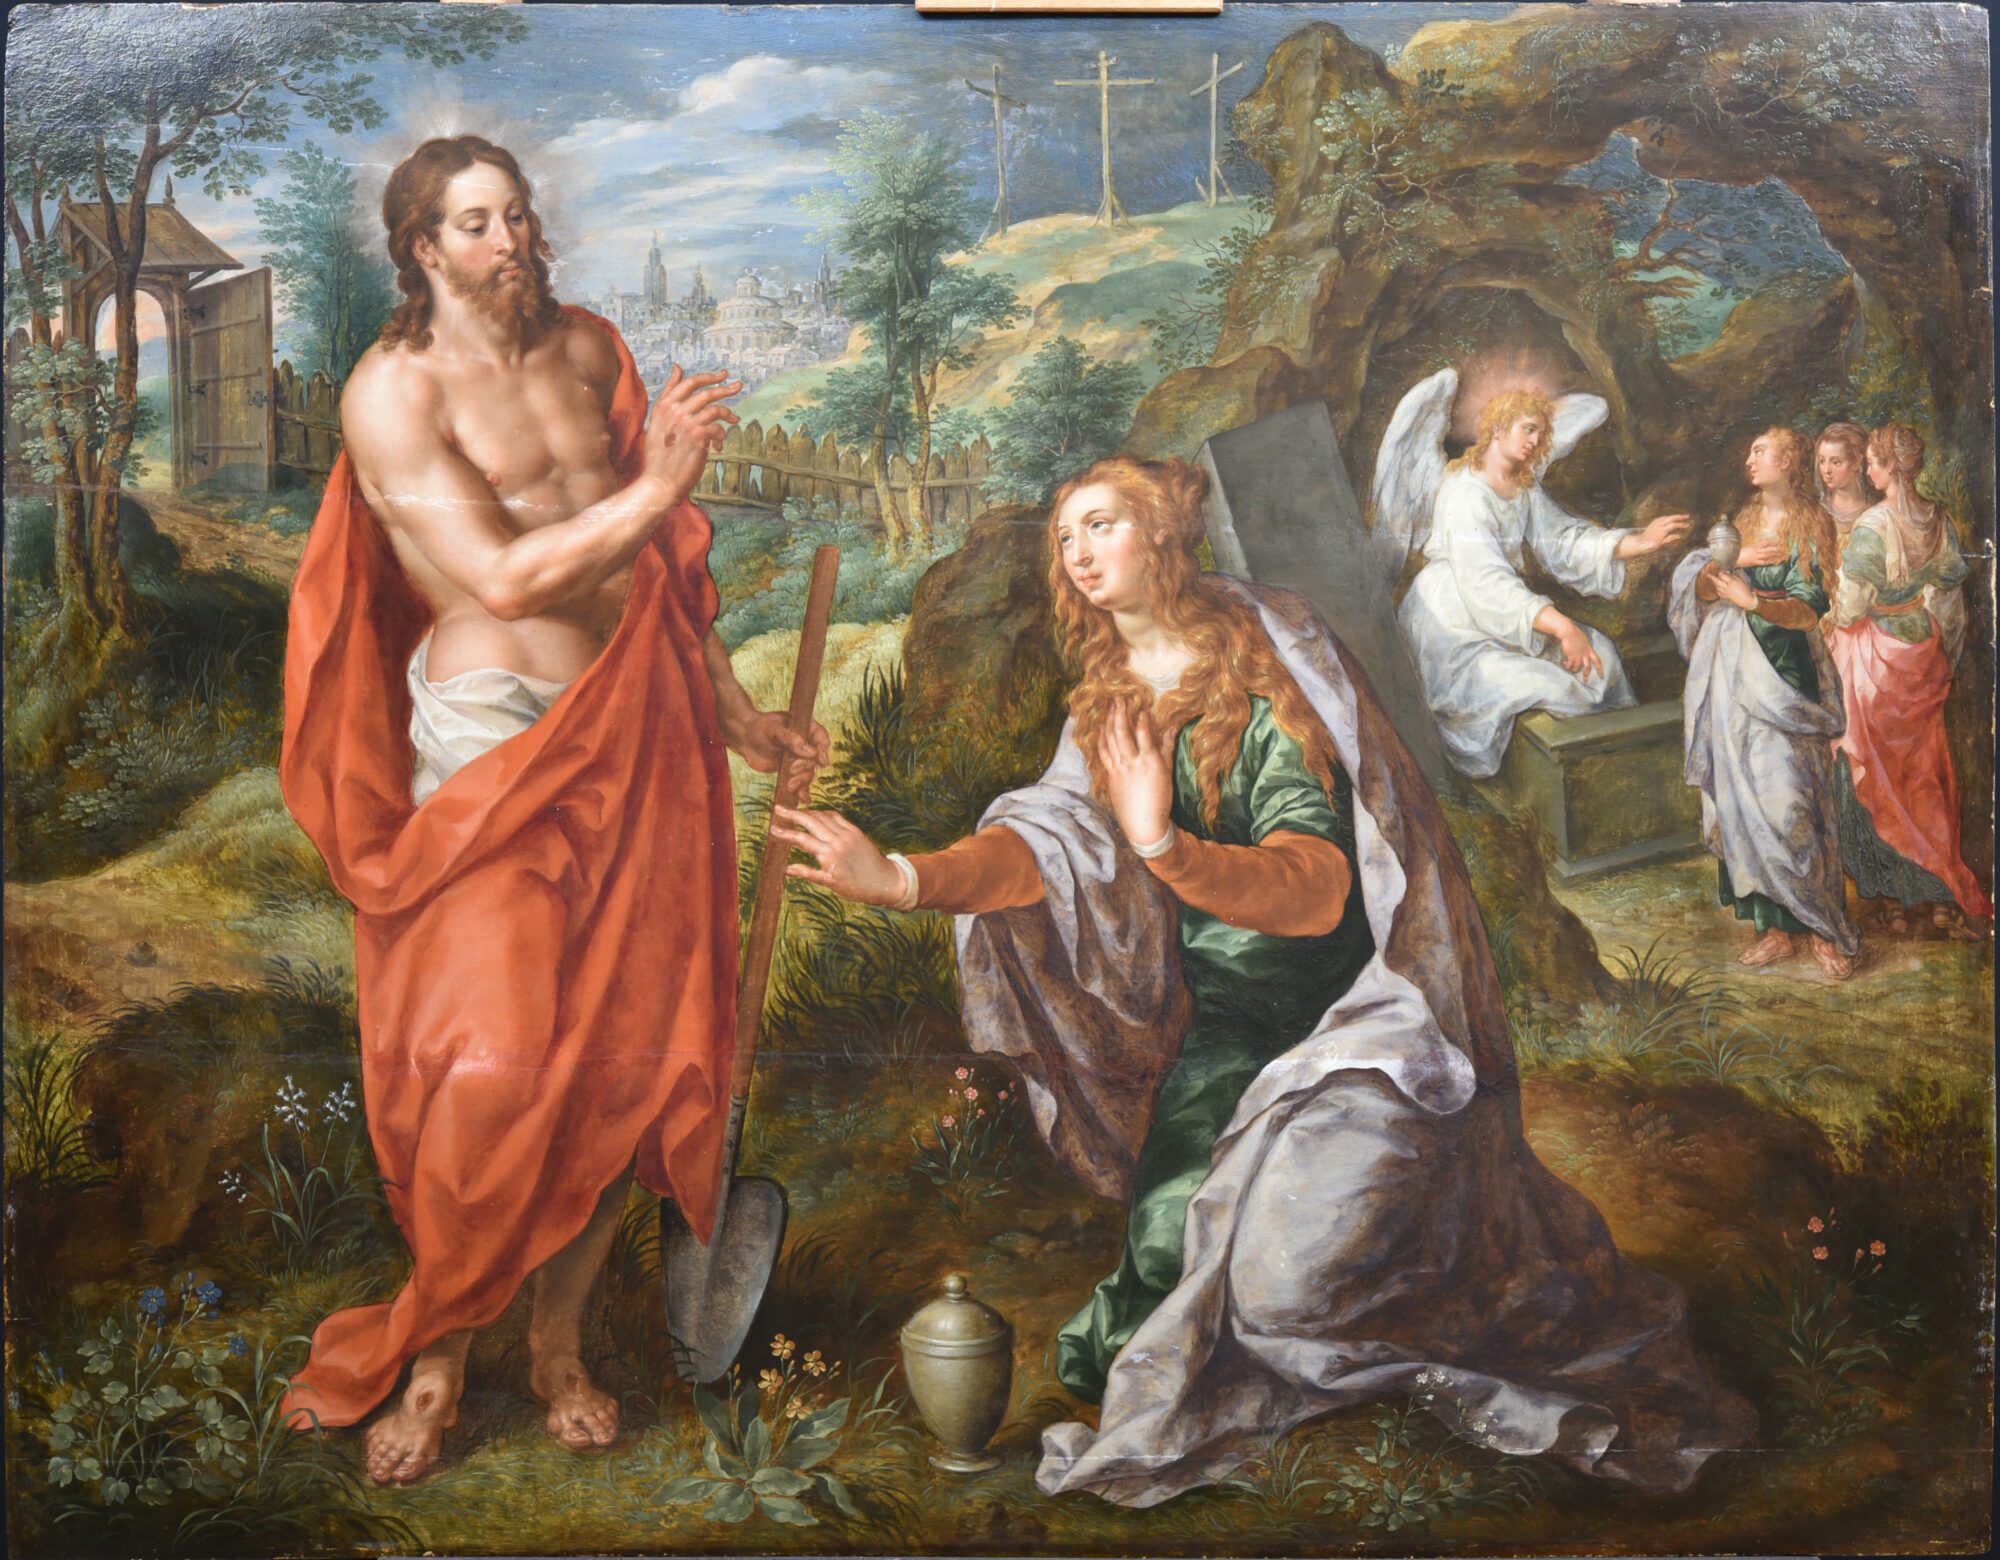
“Even before the treatment, it was clear that the painting has very bright colours and that the paint layer is in good aesthetical condition. The paint is rich in oil, and the glazes used by Hendrick De Clerck in the red and purple drapery of Christ and Maria Magdalena for example, are well preserved. It is very satisfying to notice this painting was not overcleaned in the past. De Clerck’s burshstrokes are very visible in the brown colours, where we can see the preparation in transparency. Furthermore, smalt pigment (blue coloured glass) has likely been used for the blue parts of the painting (sky and some draperies). The pigment unfortunately discoloured a little with time.”
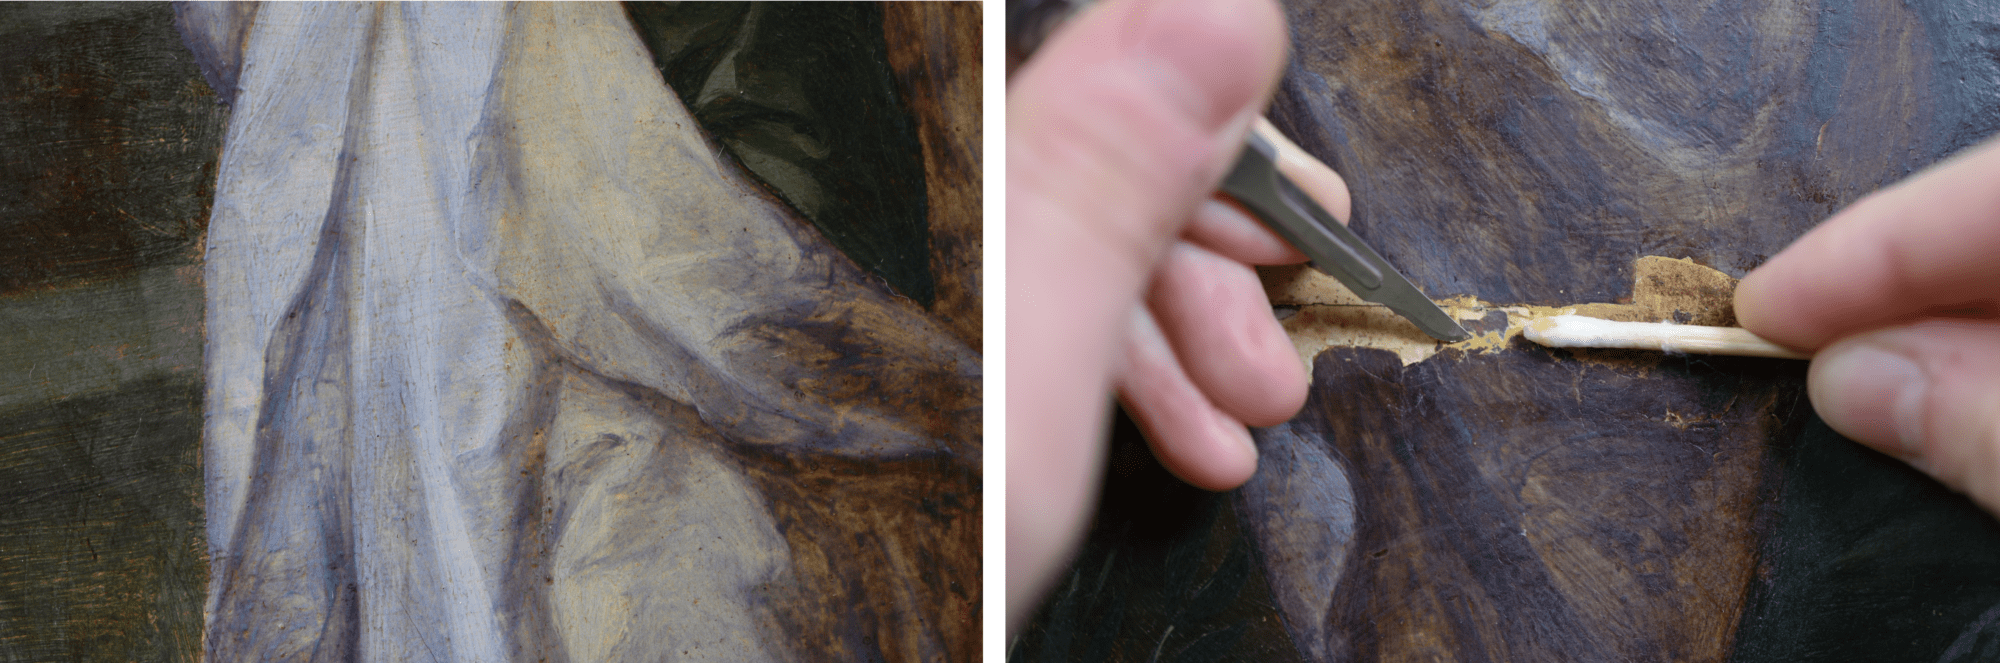
“The oak panel, consisting of four horizontal planks, underwent some structural treatment after which I could focus on the paint layer. The main damage was the up-lifting paint around the fills near the joints of the panel. The other alterations were mainly aesthetical: the fills were uneven, and the retouches were visible, especially the ones containing white. The varnish was also slightly yellowed.”

“The first treatment consisted in fixing the paint around the joints. I could then start the cleaning process, consisting mainly of the removal of the former restoration material: varnish, old retouches and fills around the joints. Some fills were overlapping on the paint layer. By removing them, it was exciting to uncover hidden original paint.”
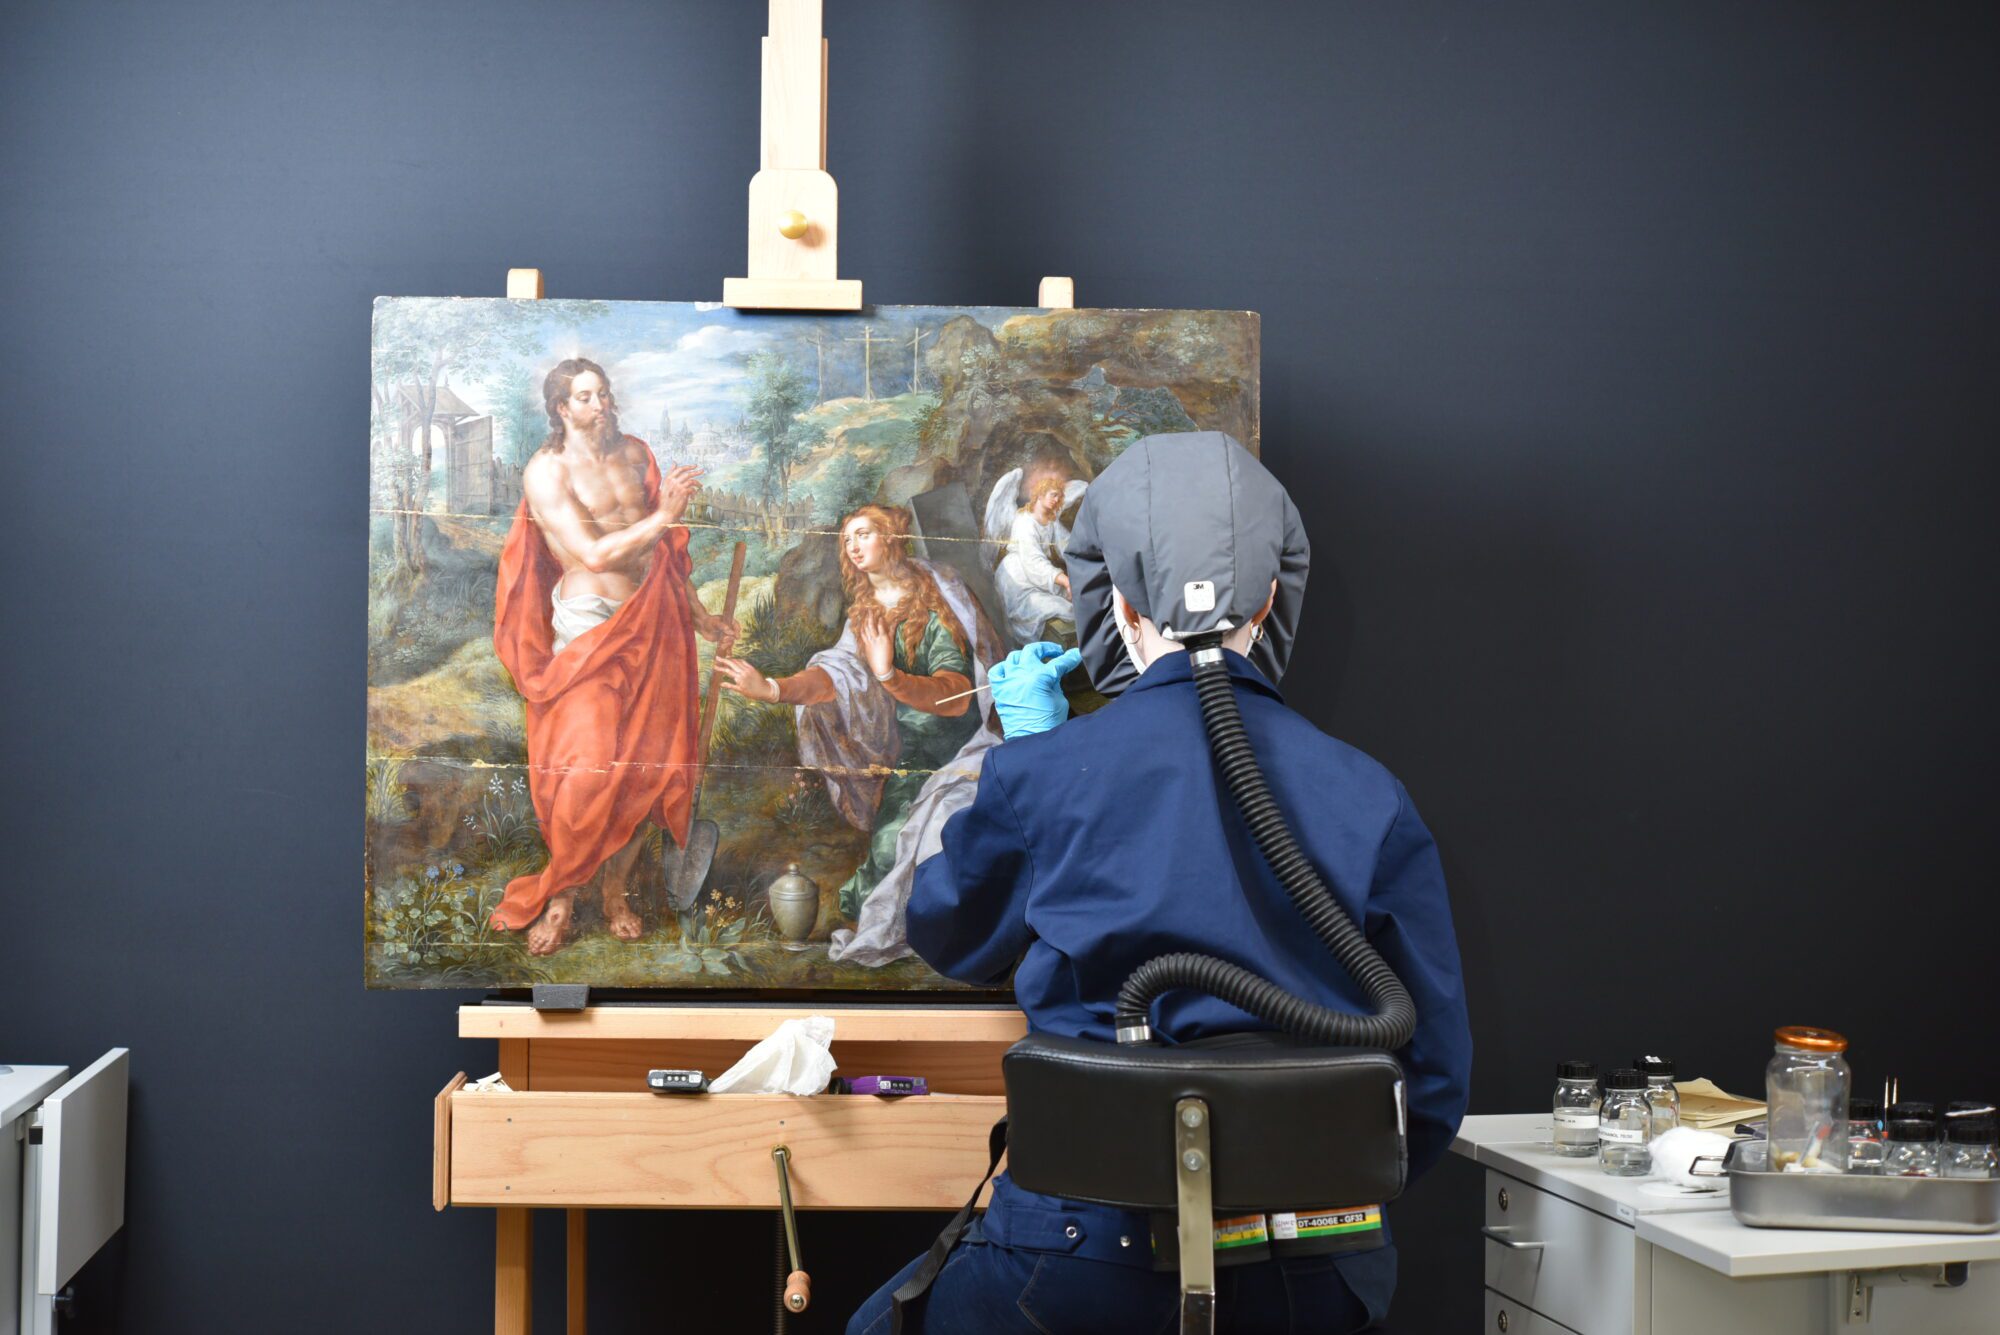
“In the upcoming weeks, the losses around the joints will be filled again, the painting varnished and then I will be able to start the retouching phase. It is a real pleasure to work on such beautiful panel and appreciate every detail of it.”
Curious about the results? Keep an eye on our website and social media!